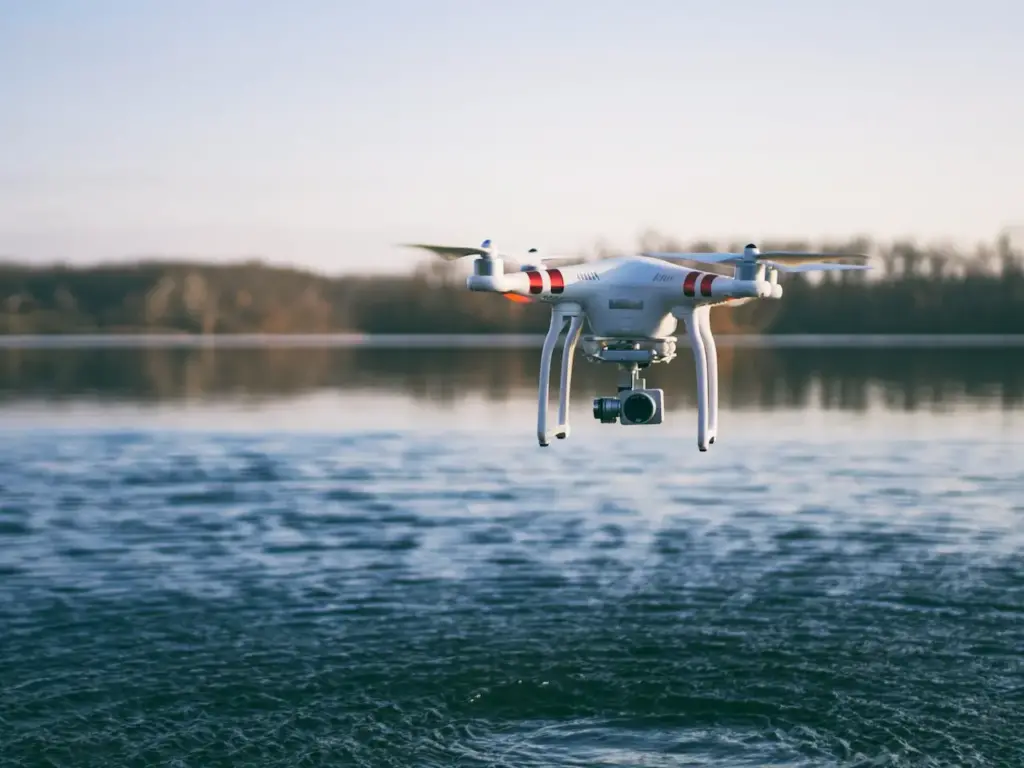
Very early on, I became fascinated with the possibility of using drones to create island-wide panoramas and unique perspectives of the beautiful Hawaiian Islands. I learned some hard lessons about how to research and prepare for each flight, when I would fly my drone into the very unforgiving environment of breaking waves, high winds, and saltwater, where one simple mistake or overlooked detail could mean disaster. I’ve been flying over water here in Hawaii since 2013, starting with a DJI Phantom 1, which had a very short flight time, no way to check the remaining battery power in flight, and no first-person view. Using today’s drone technology, it has become much easier—and safer—to tackle tricky projects, like flights over water, but the same preparation principles apply. The RotorDrone editors asked me to share a bit of what I’ve learned about flying over water and producing some of the images that you see here.
Know Your Drone
Even before I acquired the Federal Aviation Administration’s Part 107 certification, I learned that the number one item on my preparation list was to simply “know my drone.” Professional photography taught me that I needed to know my camera inside and out before going out on a shoot; for example, there is simply no time to dig through a manual when a tricky lighting situation develops just as the groom is about to kiss the bride. This is even more critical when operating a flying machine. When you suddenly find yourself in an emergency, you have to instinctively know which stick to pull or what button to push to operate the drone. This “instinct” only comes with study, time, and practice. There are no shortcuts: Read the manual. Know your controls. Know your drone. Practice…and then practice some more. Flying your drone should become as automatic as breathing.
Plan Your Flight and Fly Your Plan
A close second on my preparation list is learning to “plan your flight and fly your plan.” When I plan to shoot an aerial island panorama taken from out over the ocean, I spend quite a bit of time researching the flight before the props ever start to spin. The safety of others is always my primary consideration. I try my best not only to adhere to applicable airspace laws but also to fly in such a way that few people—if any—see my drone’s flight. I try to visualize the image that I want before even leaving the ground. I figure out the best takeoff point, time of day, sun angle, altitude, distance from land, subject composition, and more. Ideally, I want to be able to fly straight out, get the shot, and fly straight back. I want to keep everything as simple as I possibly can. I also like to use the help of a spotter to keep an eye on my drone, which gives me more freedom to focus on getting the shots I need.
Check, then Check Again
I double-check everything before takeoff: Props secure? All batteries adequately charged? Camera lens clean? Memory card in place (with plenty of storage space)? GPS home position established? Check it all, then check it again. After I take off, I always hover the bird about 10 feet off the ground and check to make sure that everything is stable and that all the controls are working as they should before going any further.
Waves and Wind
Finally, I’m ready to head out over the water. If waves are crashing on the shore, I try to get up to 250 feet or so fairly quickly to avoid salt spray. If I’m flying off the edge of a steep sea cliff, I try to be prepared for sudden updrafts coming up the cliff face. I fly as smoothly and quickly as possible to my pre-visualized “shooting spot.” When I think I’m in a good spot to shoot the panorama, I turn the drone around to face the island and do some quick pans to ensure that I can capture the series of images I need for the composition I have in mind. Sometimes I have to move a bit closer or farther out to get the composition and “the look” that I want. Usually for most island-wide panoramas, I shoot at an altitude of about 300 to 375 feet high. The distance from land varies depending on the composition. Once I find the optimal position, I carefully start shooting the series of shots I need to stitch the final image together. I usually shoot five to eight panned shots with about a 30 percent overlap to ensure that my stitching engine can put everything together with no problem. I have taken as many as 20 shots or more for a panorama. Each situation is different. I use PTGui for nearly all my image stitching needs. I find it does an excellent job of stitching horizontal, vertical, and 360-degree panoramas. I often work from RAW image files. I like the option of being able to tweak and adjust individual image files before the stitching process.
Postproduction
I also do quite a bit of editing after the stitching. I’ve learned a few tricks over the years that help correct distortion and bring out subtle details. One of my pet peeves with many aerial images is “blown-out” clouds. I try hard to keep as much detail in clouds as possible. I found that the principle of Ansel Adams’s “Zone System” helps in dealing with the high dynamic range of island-wide panoramas: I treat sky, land, and water as three separate “zones” of exposure. It’s not unusual for me to put in an hour—or more—into editing a single aerial panorama.
Patience is a Virtue
Even after all the researching, planning, and preparation, there are many times when I arrive at a chosen site all set to go only to find that the wind has exceeded safe flying conditions, clouds have started to block the sun, or children are playing too close to my takeoff site, and I have to abort the flight and try another time. Sometimes I sit for hours, just waiting for conditions to change.
All in all, this type of aerial imaging takes time, practice, and a great deal of patience. But the final results can be well worth all the time and effort! You can see more of my image samples and find more information about my drone aerial work at joewestphotography.com.

